How to make ocean waves using resin
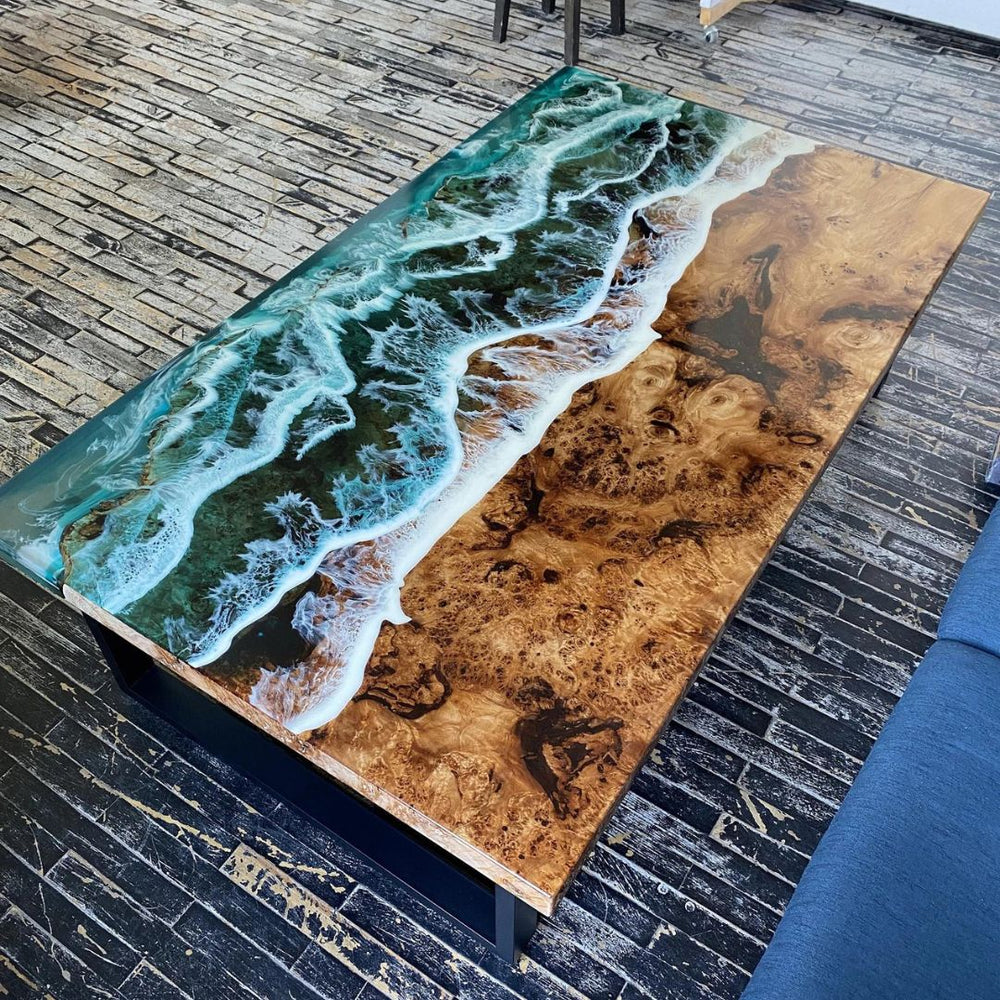
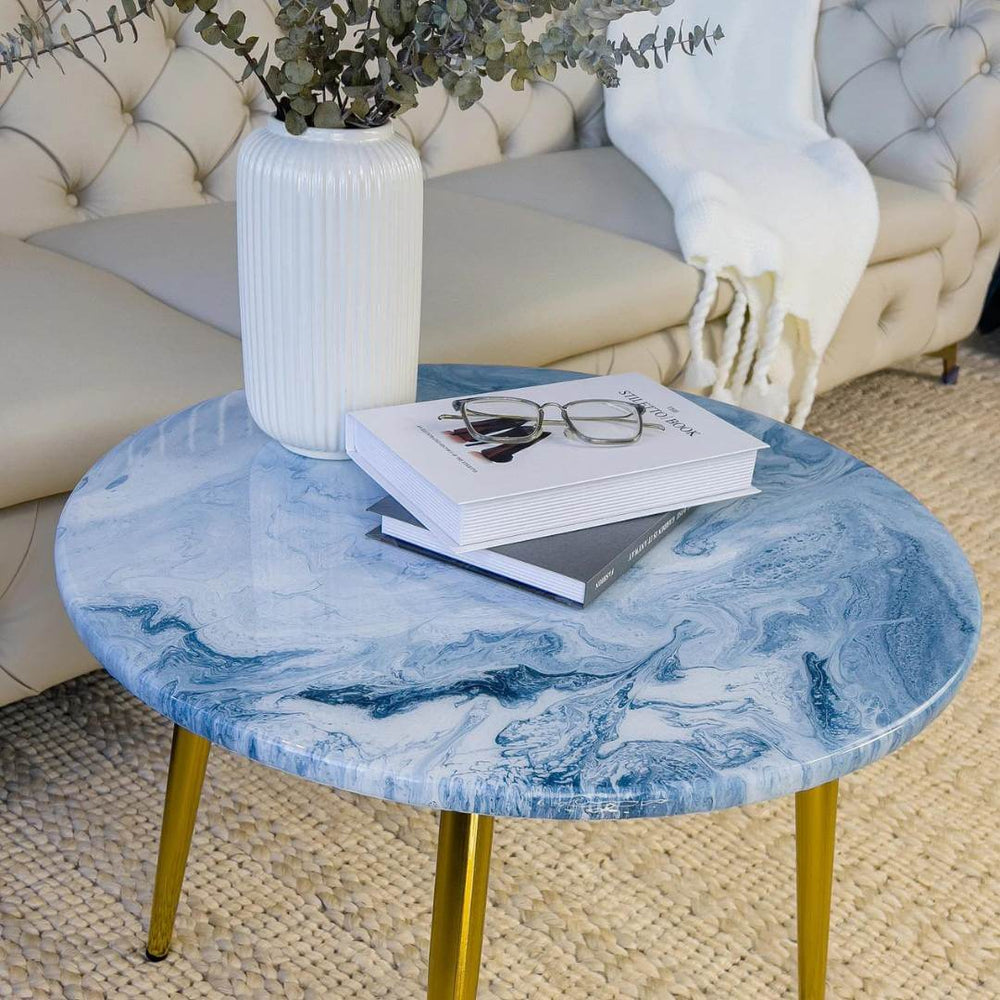
Ocean waves are a stunning sight to behold, with their mesmerising movement and beautiful colours. If you're looking to bring the beauty of the ocean into your home or workspace, creating a resin ocean wave art piece is a great way to do it. With resin, you can capture the movement and colours of ocean waves in a way that is both beautiful and unique. In this blog post, we'll walk you through the steps to create your own ocean wave using resin.
What you will need to get started
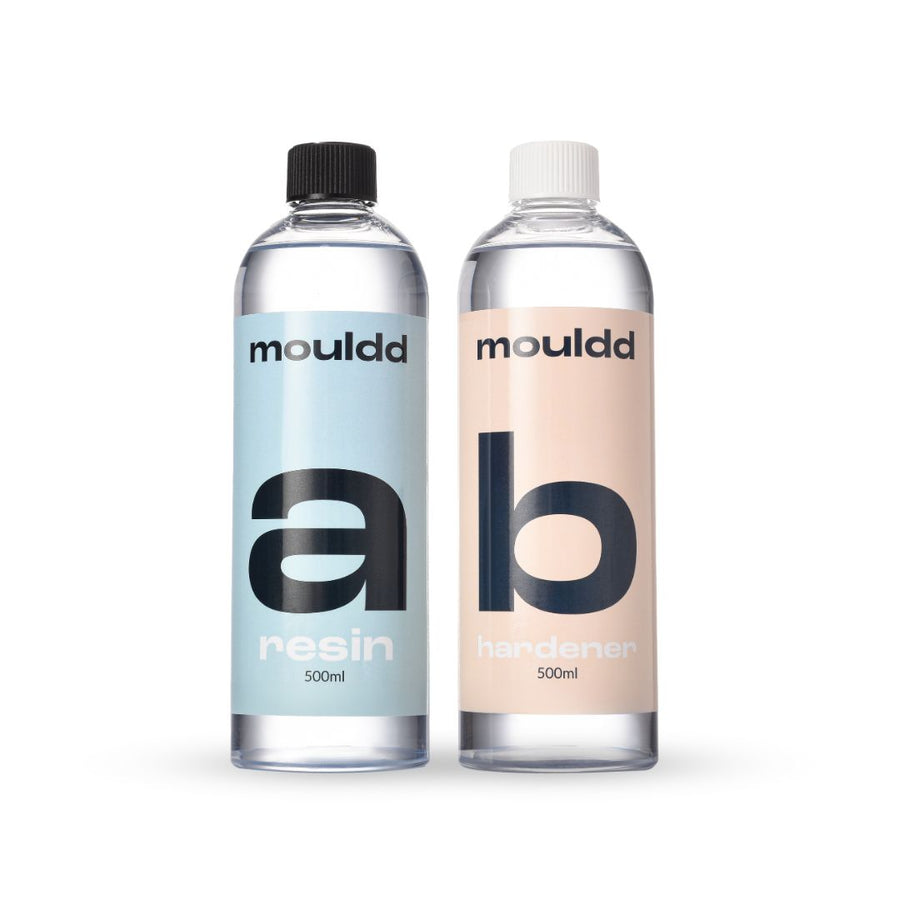
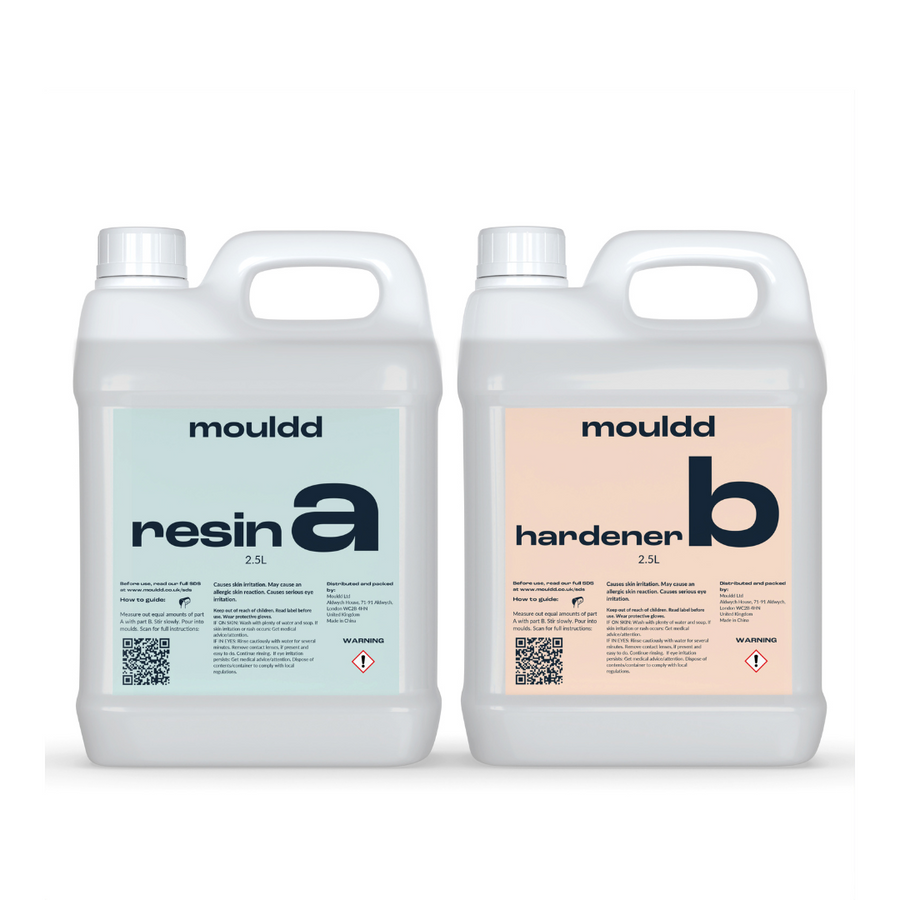
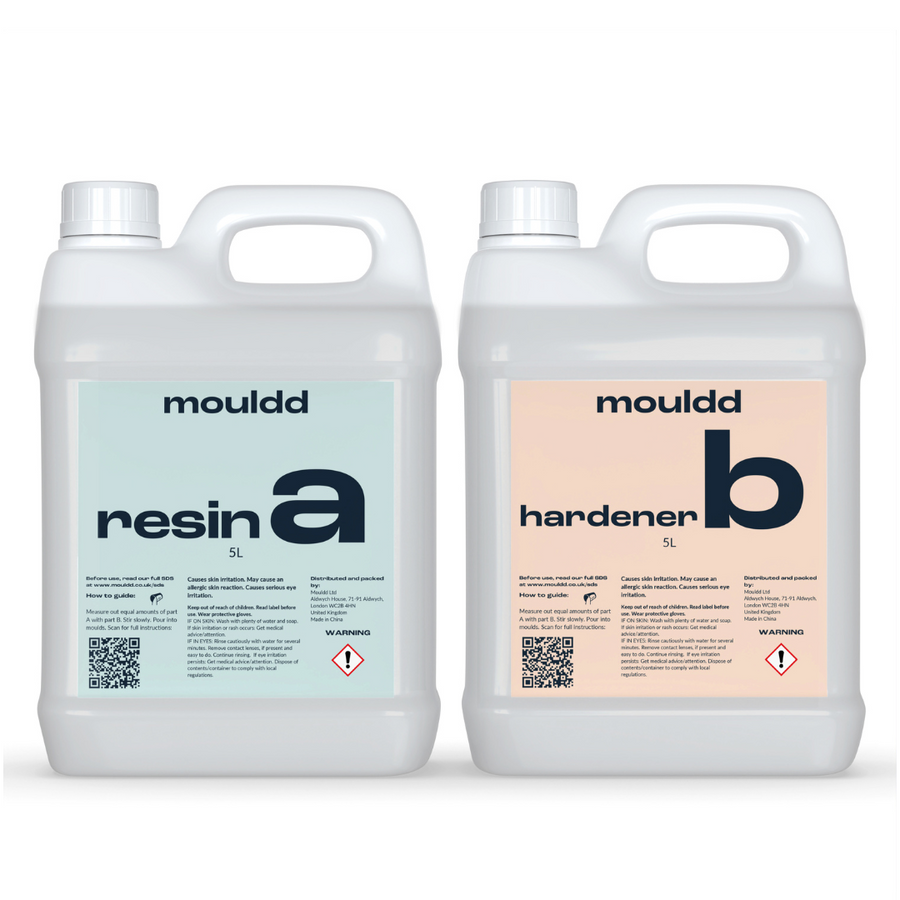
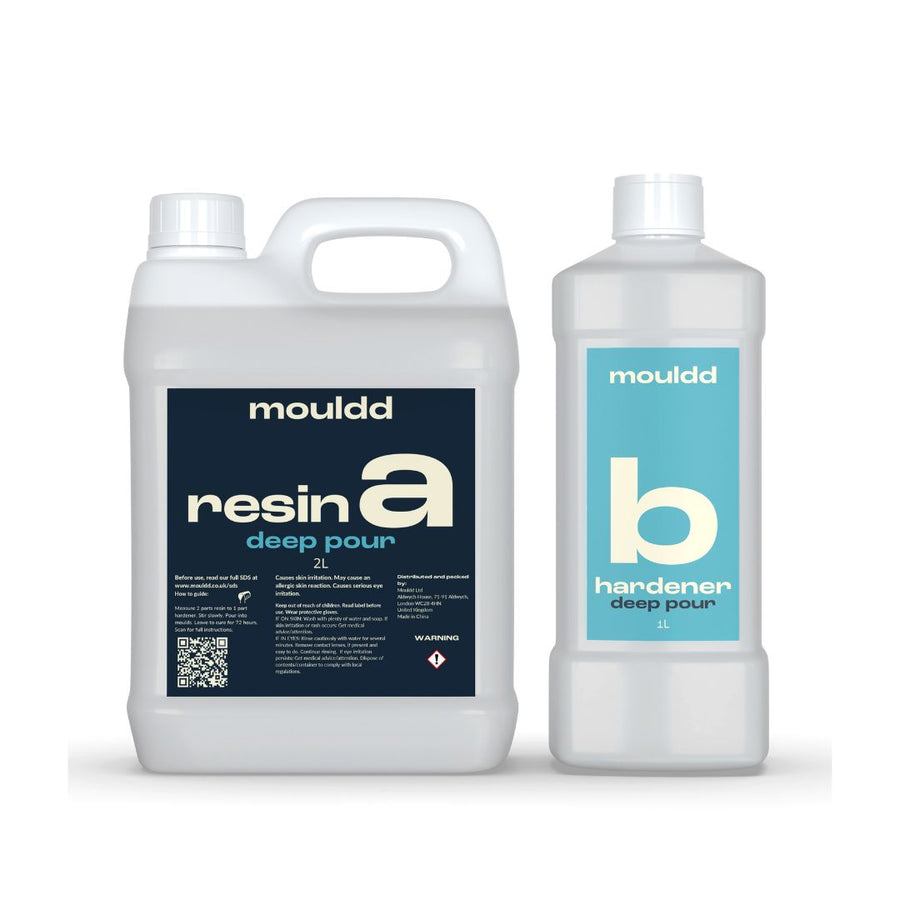
• Mouldd Epoxy Resin Starter Kit
• Mixing Cups (included in kit)
• Stir Sticks (included in kit)
• Gloves (included in kit)
• Canvas or Wood Board
• Heat Gun
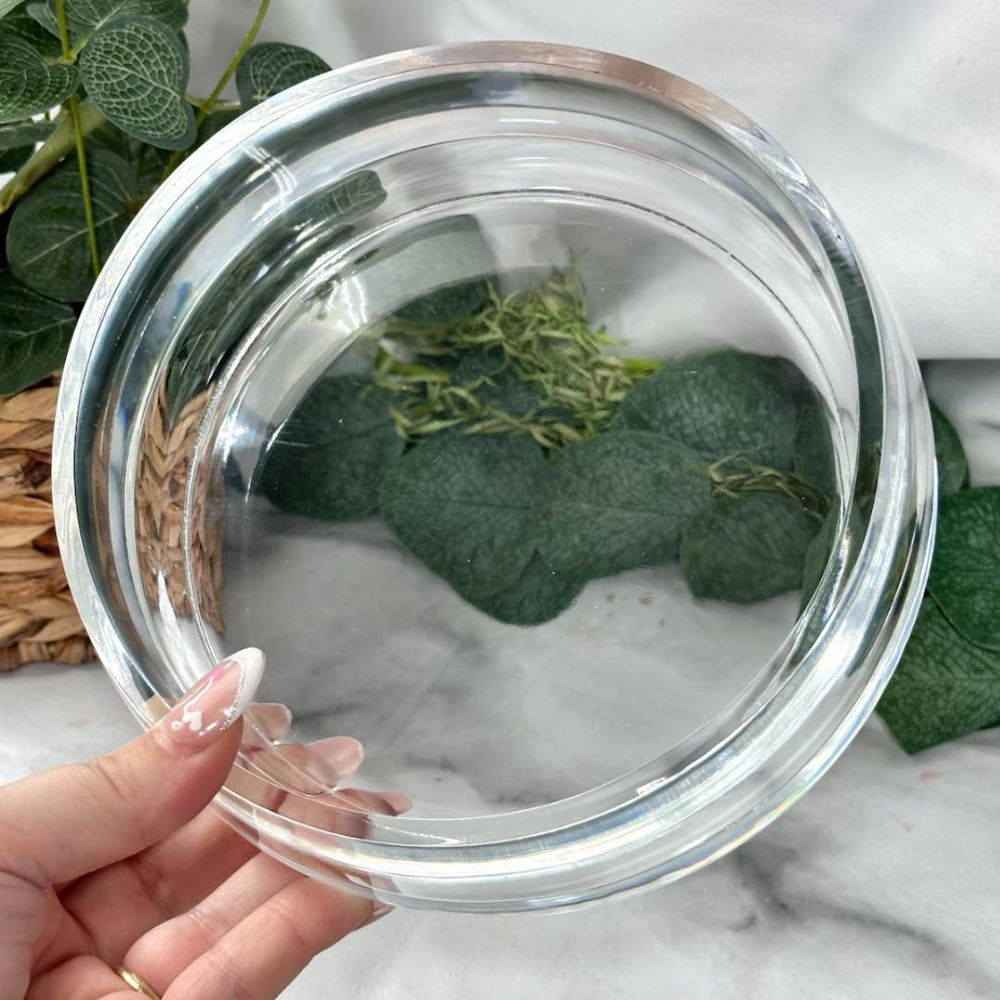
• Silicone Mould
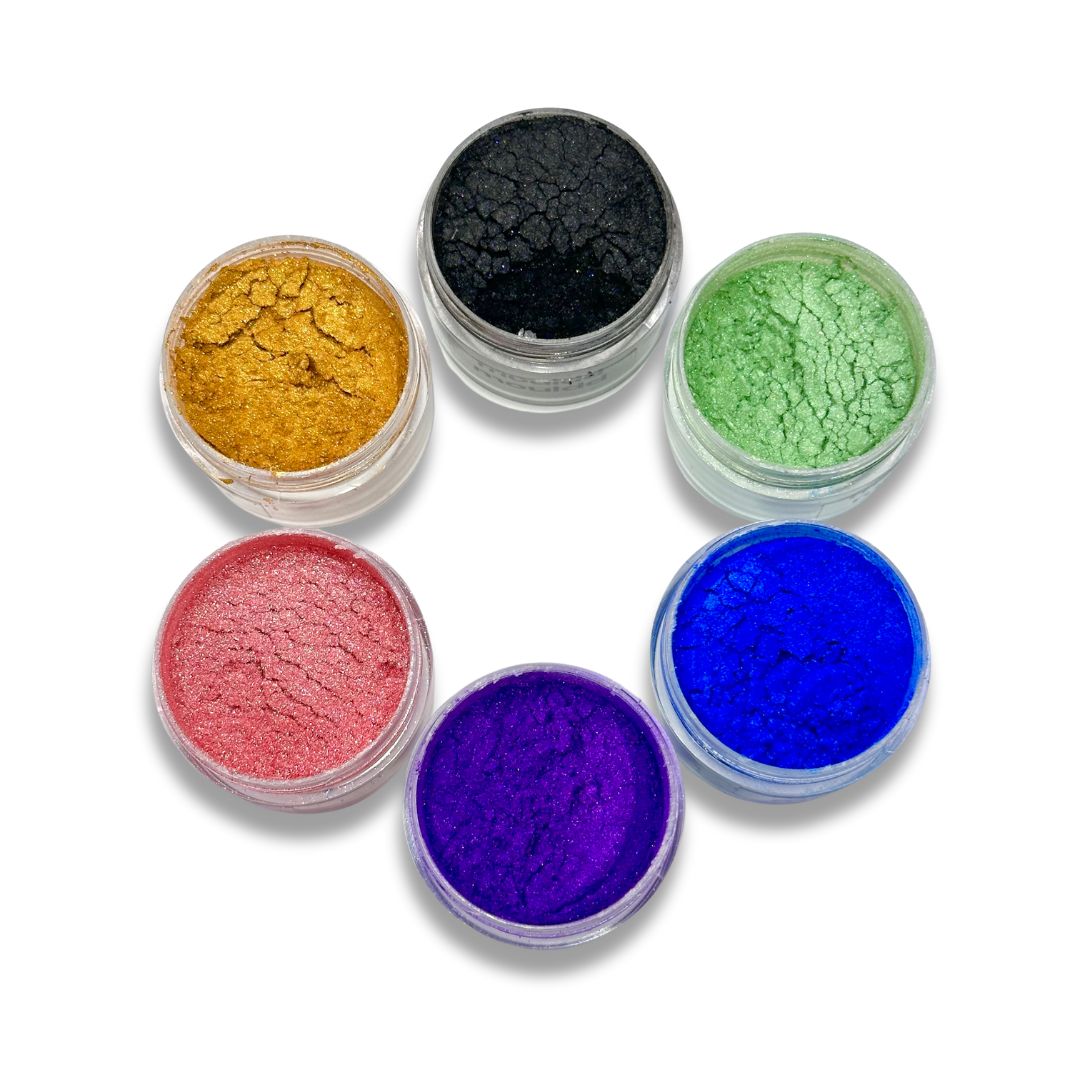
• Resin Pigment
• Resin Dye
• Glitter (optional)
Step 1: Prepare Your Workspace
Before you start, make sure you have a clean, well-ventilated workspace. Cover your work area with a table cloth or plastic sheet to protect it from any spills or drips. Wear protective gloves, and make sure you have all your supplies within reach.
Step 2: Mix the Resin
Mouldd resin is a heat resistant 1:1 resin. Therefore you will need equal parts resin to hardener (measure by volume or weight). Pour slowly both the resin and hardener into your mixing cup and mix for three minutes. Scraping the slides slowly to make sure all the resin is mixed in and it is not left cloudy. Make sure to wear gloves to protect your skin from the chemicals in the resin.
Step 3: Add Pigment and Dye
To create the colour of the ocean wave, you can add resin pigment and dye to the mixed resin. Mix the pigments and dyes thoroughly into the resin until the desired colour is achieved. Keep in mind that resin dries darker than the wet resin, so don't add too much pigment or dye.
Step 4: Pour the Resin into the Mould
After mixing your resin, pour it into your silicone mould. You can use any shape or size mould that you like, but for an ocean wave, a curved shape works best. Fill the mould about two-thirds full with the resin mixture.
Step 5: Add Glitter (optional)
For an extra touch of sparkle, you can add glitter to your resin mixture before pouring it into the mould. Mix the glitter into the resin thoroughly.
Step 6: Create the Wave Effect
To create the wave effect, you will need to use a heat gun. Use the heat gun on a low setting to blow air over the surface of the resin in the mould. Move the heat gun back and forth over the resin until you see the wave effect forming. Be careful not to overheat the resin, or it may become too runny.
Step 7: Let it Cure
After you've created the wave effect, let the resin cure for at least 24 hours. It may take longer depending on the temperature and humidity levels in your workspace. Once the resin has cured, remove it from the mould.
Step 8: Attach the Resin to a Canvas or Wood Board
To display your resin ocean wave art piece, you can attach it to a canvas or wood board using strong glue or adhesive. You can also add additional elements to your art piece, such as sand, sea shells, or stones, to make it more unique.
In conclusion, creating an ocean wave using resin is a fun and easy project that can be done by anyone. With a little creativity and patience, you can create a stunning art piece that captures the beauty and movement of ocean waves. So, get your supplies ready and start making your own ocean wave today!


