UV Resin Instructions
Mouldd UV resin is the perfect product to use when making intricate pieces like jewellery. It cures much quicker than our normal shallow pour or deep pour resin, meaning you can make pieces much faster.
However, it does not compromise on the quality or clarity of the resin!
The steps for UV resin are much simpler, so less places to make a mistake.
1. Prep
Clear and cover your workspace to help protect it from any spillages! We recommend using silicone mats, old plastic table cloth covers or baking paper. Once hardened, resin can be very difficult to remove so ensuring your work area is covered now will save you heart ache in the future. We also recommend wearing gloves and a mask when working with Mouldd resin.
2. Mould
Ensure you have your mould or area you are going to pour your UV resin onto clean and ready to go. Make sure there are no tiny dust particles, as they can ruin your finished piece! Using cellotape to pick up any dust is handy trick.
3. Colour
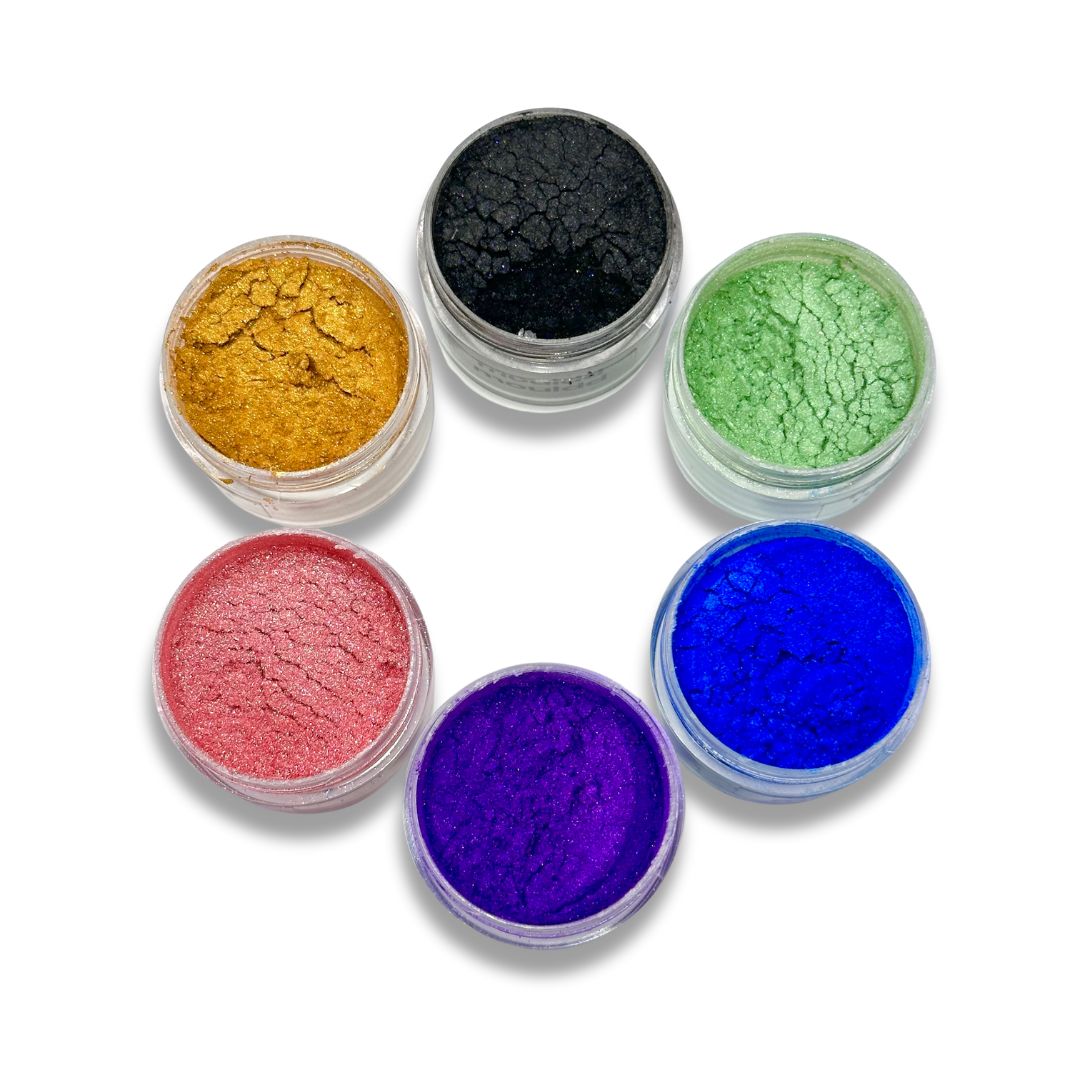
Colouring UV resin is very similar to that of our normal shallow pour resin. You can use mica powders, inks or even acrylic paint. Just be more careful to not add too much as they can begin to effect the curing time. Simply pour some UV resin into a silicone jug and add small amount of your colouring.
4. Pour
Now all you need to do is pour your resin into the mould or area that you would like to use it!
5. Cure
Unlike other resin you need UV light to cure UV resin. What makes it so amazing is the fact that it cures within a few minutes. Simply place it under a UV light for 60 seconds to 120 seconds. Depending on the size it may need slightly longer. So simply check on it every 60 seconds from then to ensure it is fully cured.
If it is possible to turn it over, you can also flip it under the UV light to allow both sides of your piece to cure.


